Beam-ing with excitement!
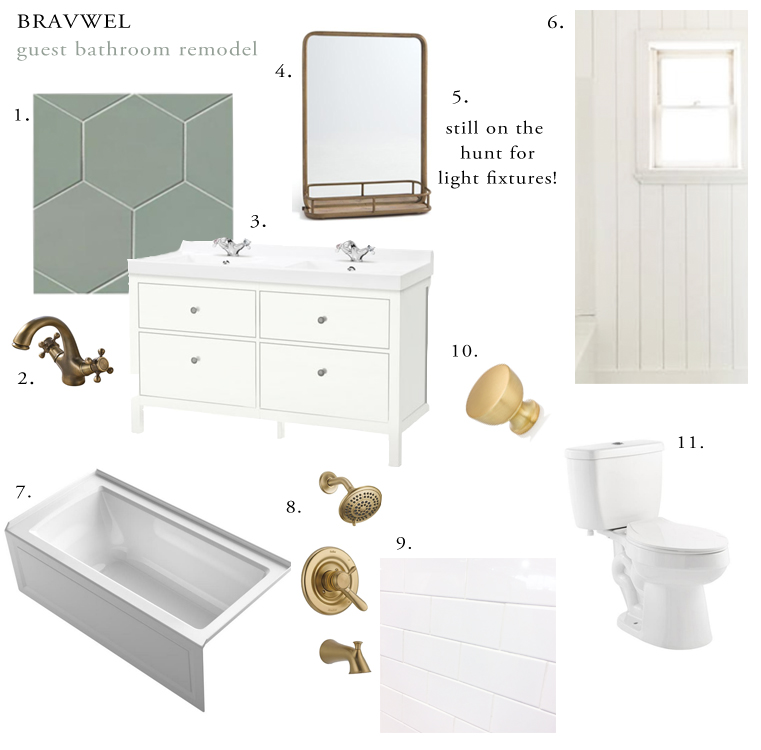
Do you like what I did there?! We’re talking about beams on the blog today and dang, it’s going to look so good once the ceiling is done. This week has been a little slower in the demo department. Adam finished ripping out everything out of the bathroom. Adios pink/peach/whatever color you are tub and sink, and we’ve been trying to decide on tile for the floors. We love a simple hexagon (of course in white) but recently, aka last night, we thought, maybe we could be a tad bit more fun? We’ll see what happens there.
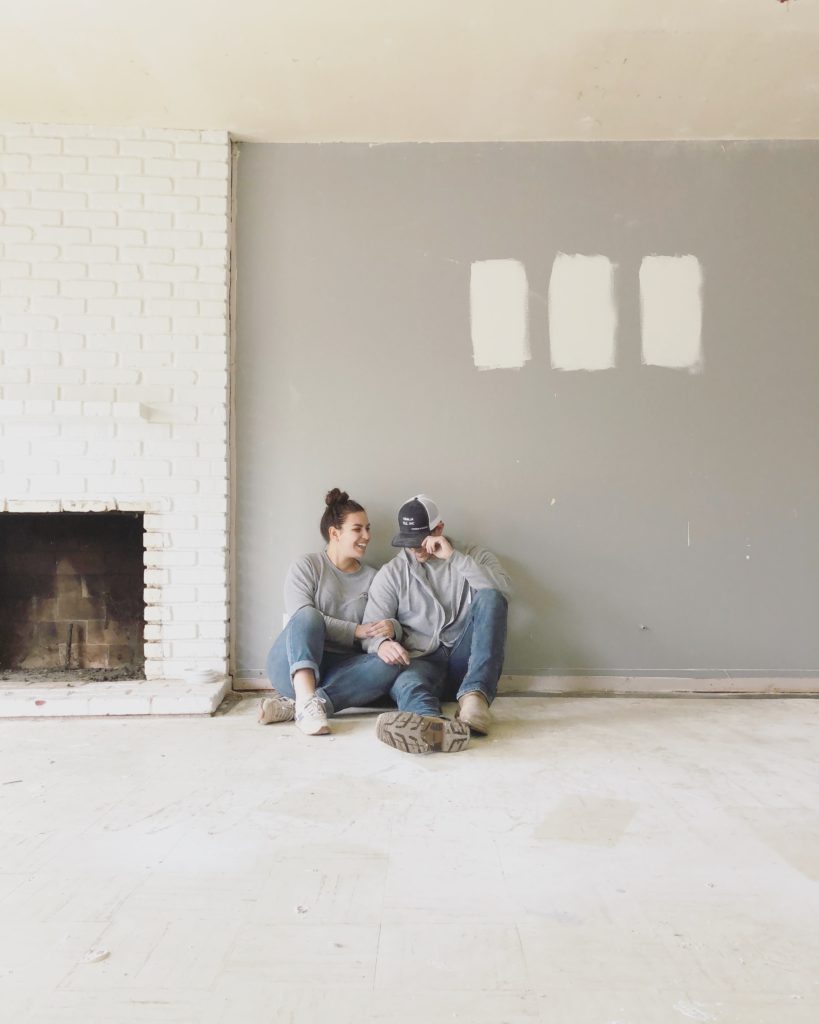
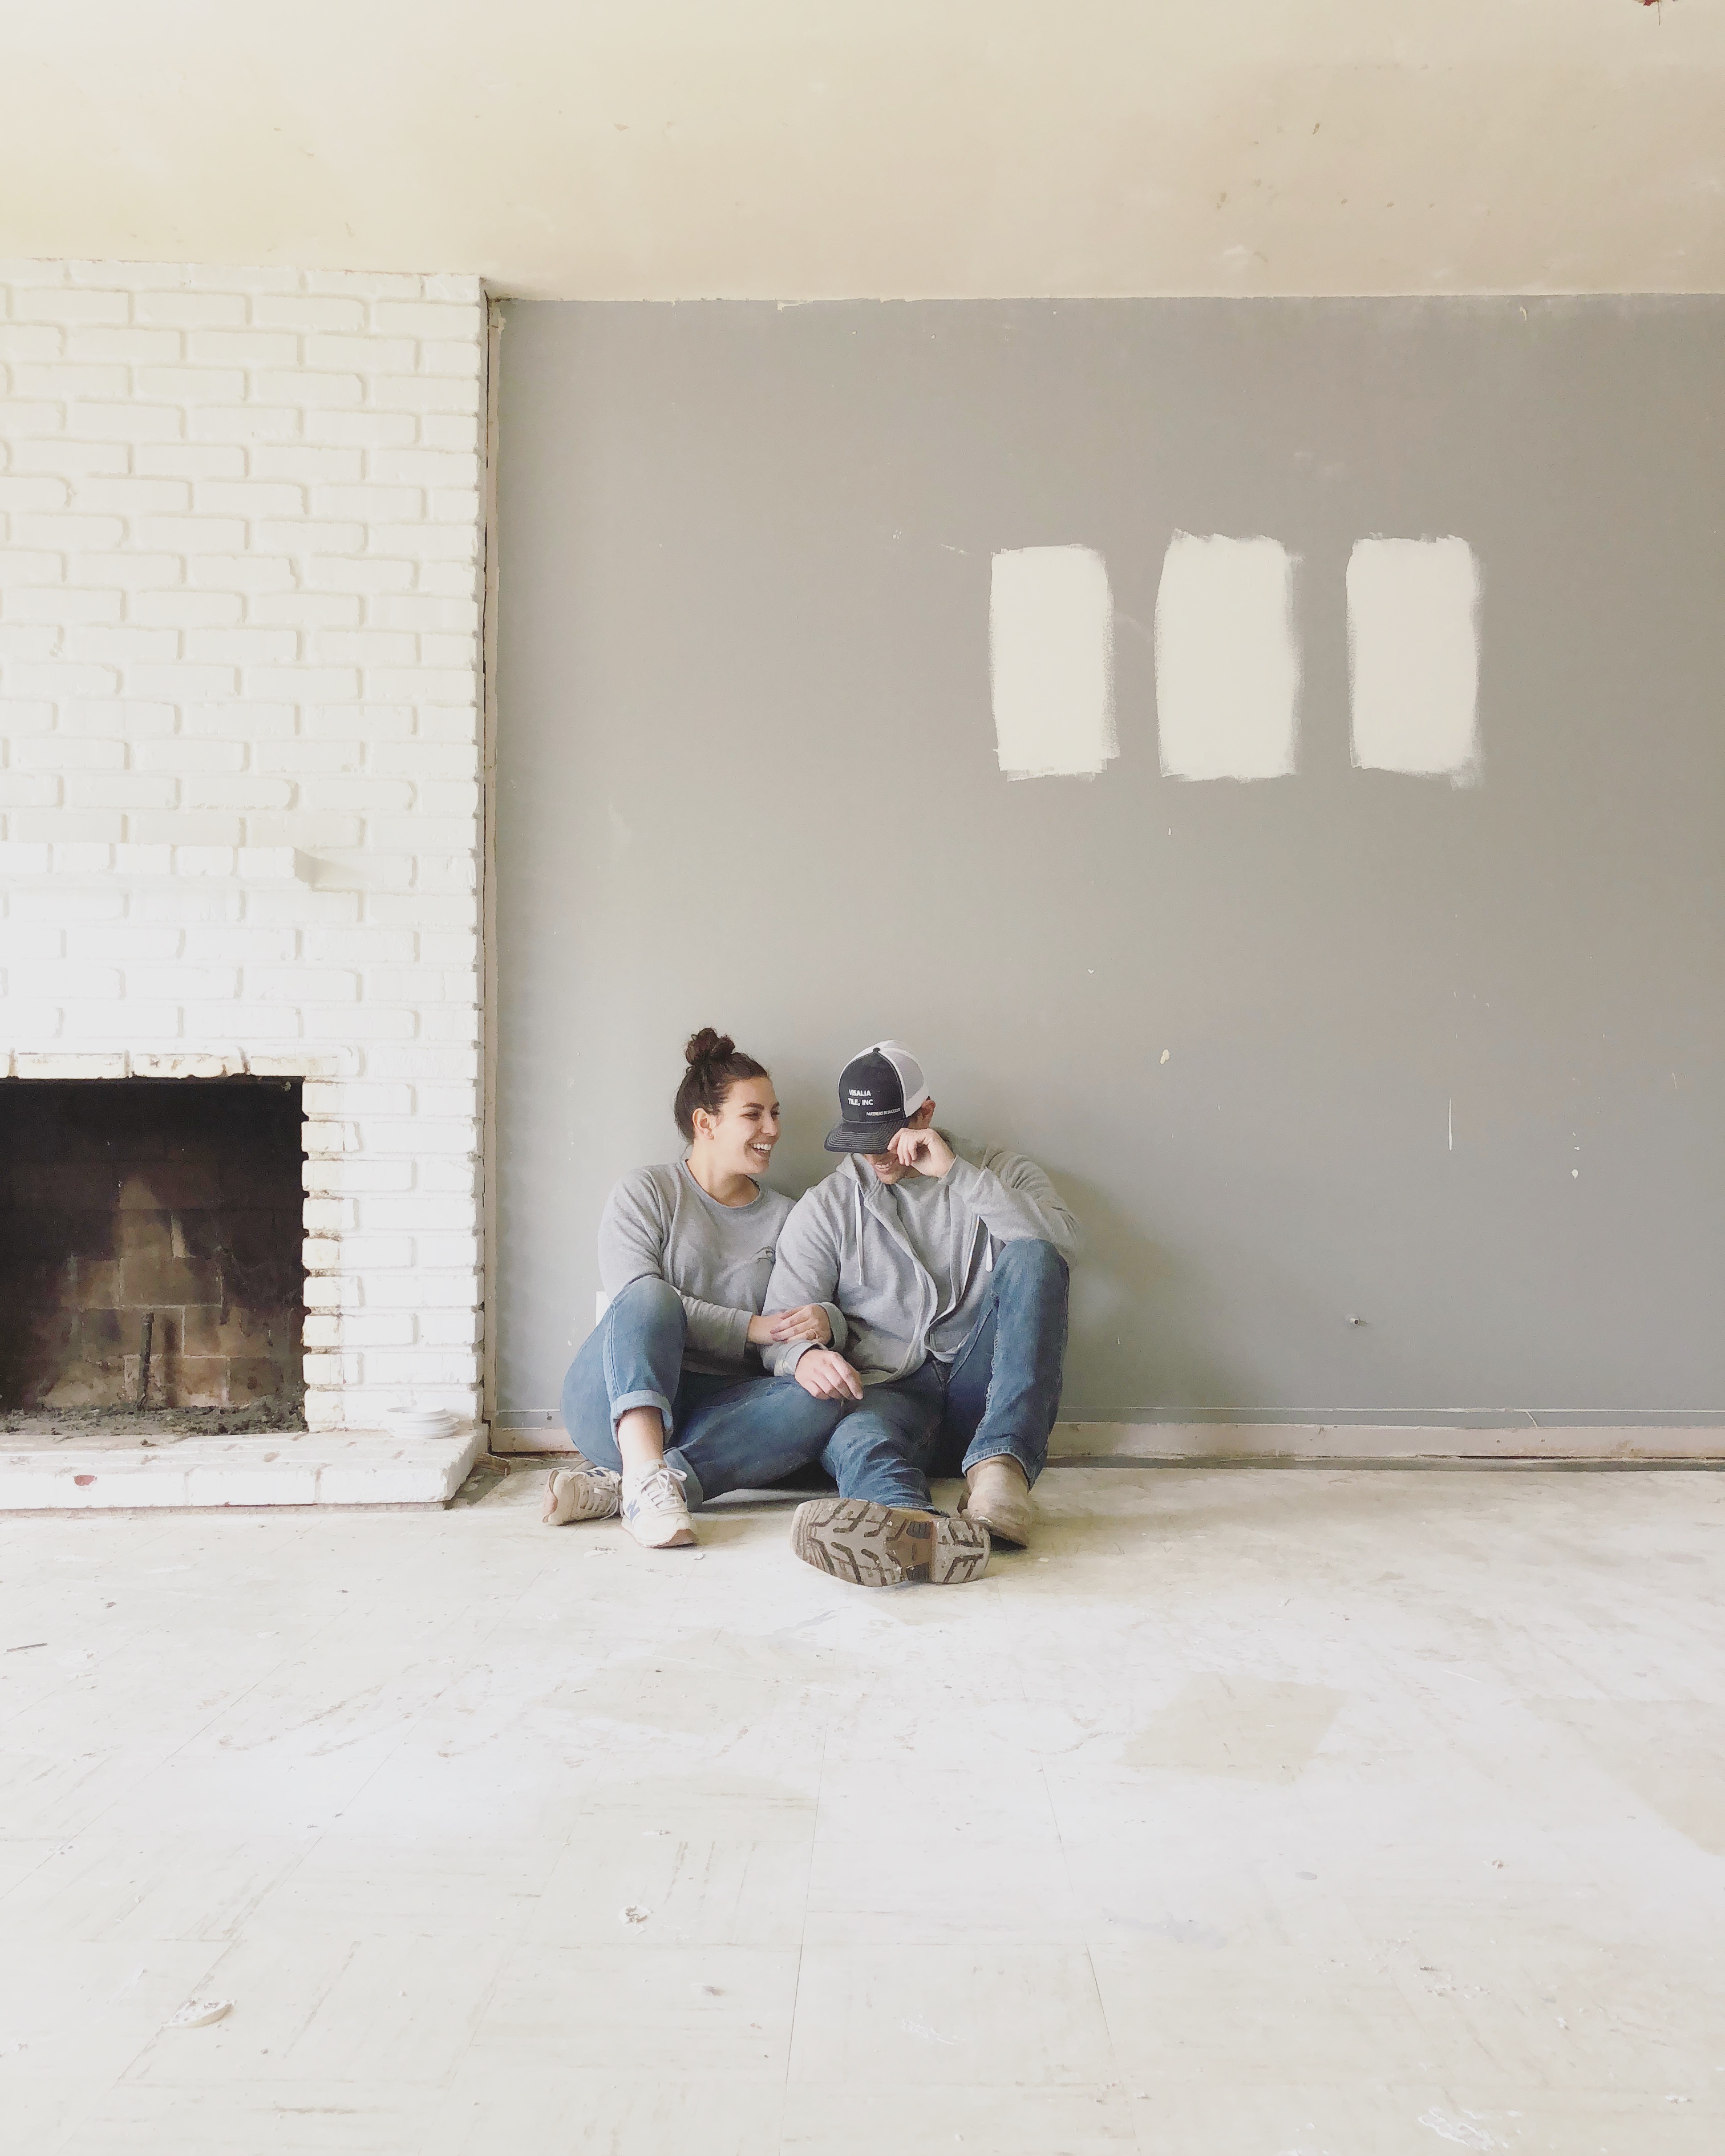
I painted almost identical paint swatches on the wall to try and pick the perfect paint color for the house. I swear there’s a difference, you guys. And I think we’re going to go with Swiss Coffee, which seems to be a pretty popular one so I’m guessing it’s a great color! AND, Adam ripped out the nasty fireplace insert and holy smokes, it already looks 10x better, even with the spider webs and dirt!
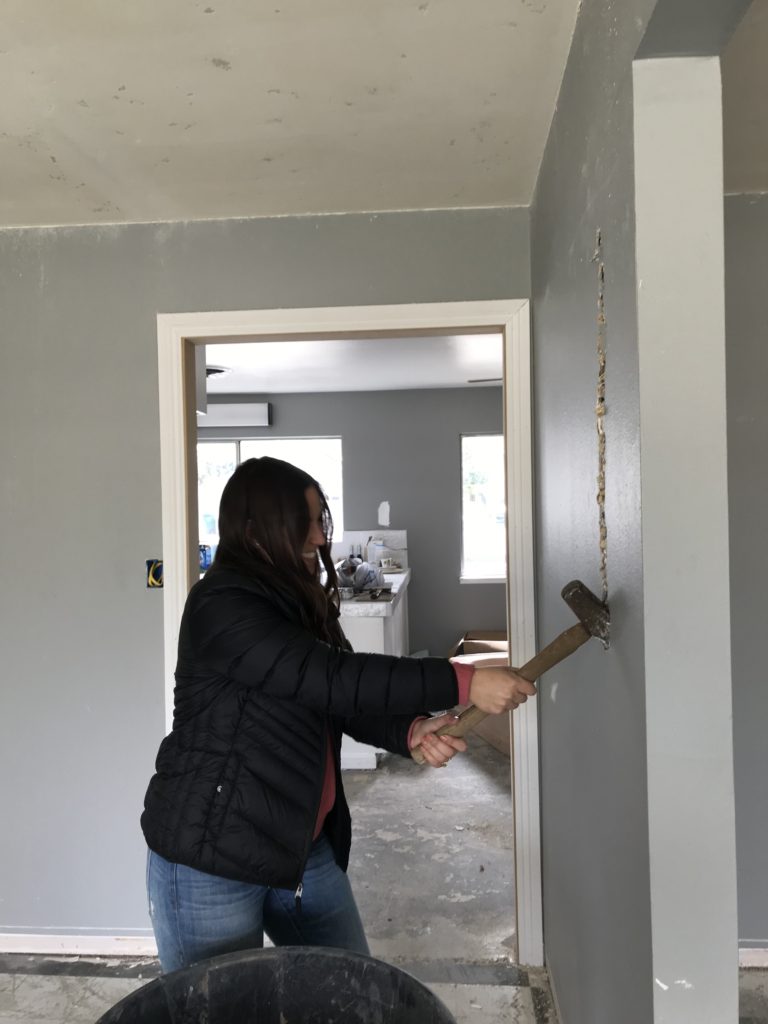
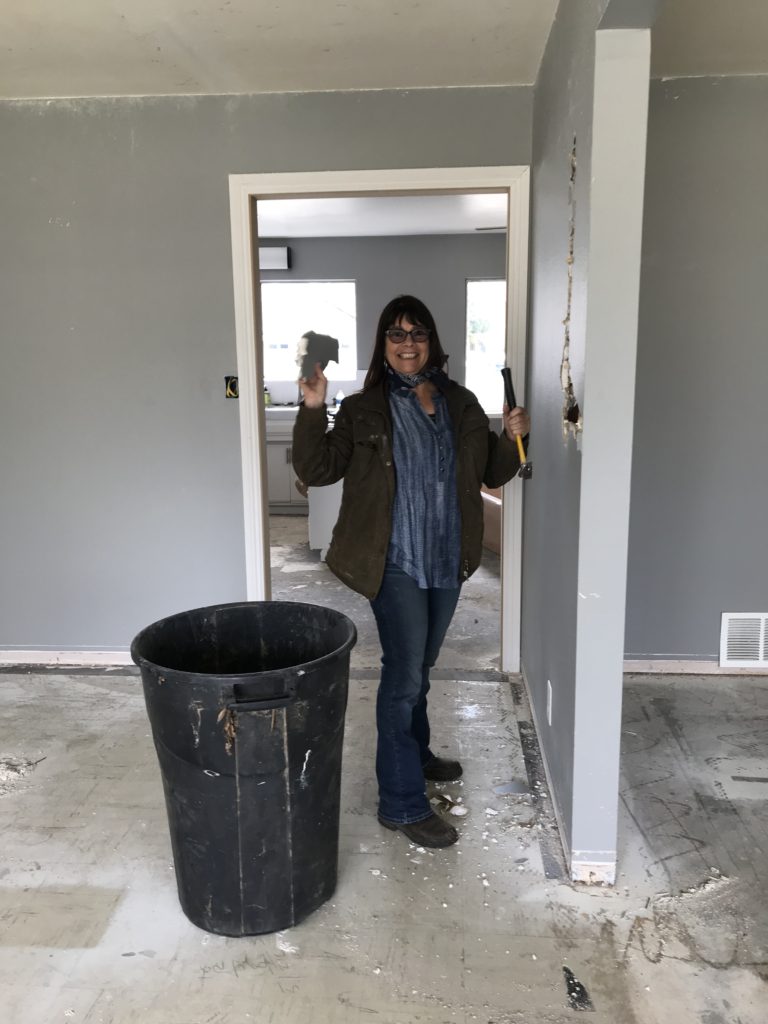
But, the topic for today is beams, so let me get back to that. So, if you remember us talking about our plans for this weird, half wall in our videos then you’ll recall we wanted to knock it down and extend that load bearing beam into the wall attached to the kitchen. Well, yesterday on our lunch break, my Mom and I decided to get to work on it, and twenty minutes later we made progress! The guys are getting the beam work in the attic done this weekend and we need to stain our beams (more on that below) and the guys need to come back and sand and patch the ceiling, and, and, and (that’s literally what my brain feels like right now).
How much better will that look!? I love that you’ll be able to walk into the living area and see our gorgeous dining table (oh ya, that we bought this week, you know, before we purchase floors) I linked it here and am SO excited about it! 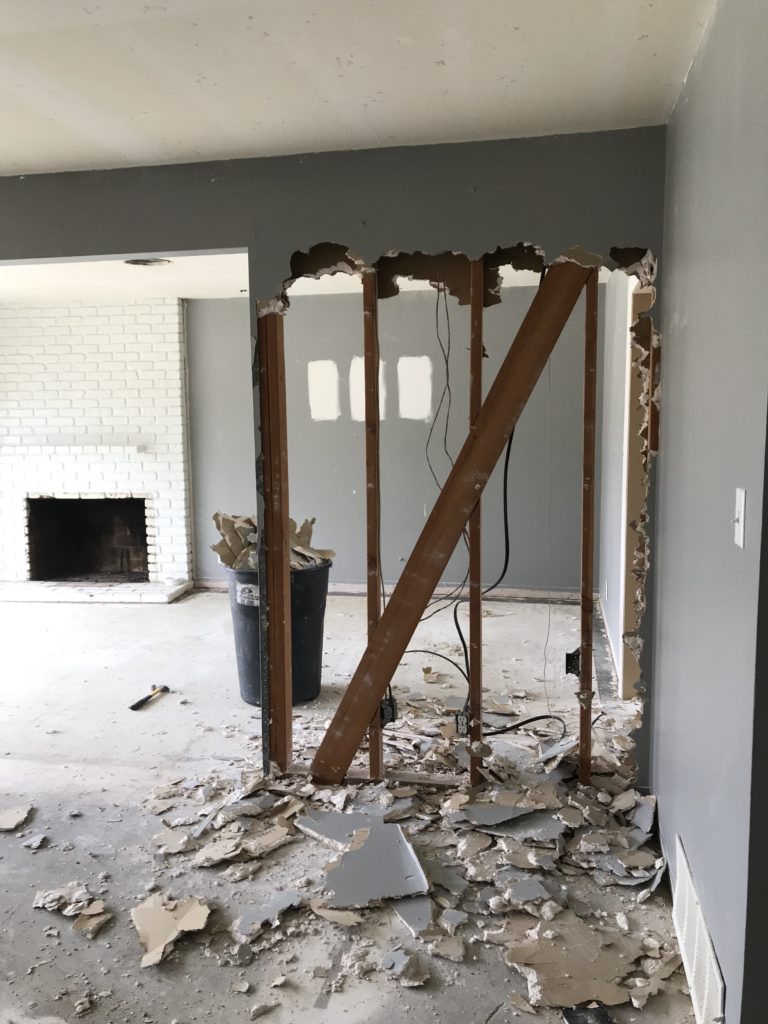
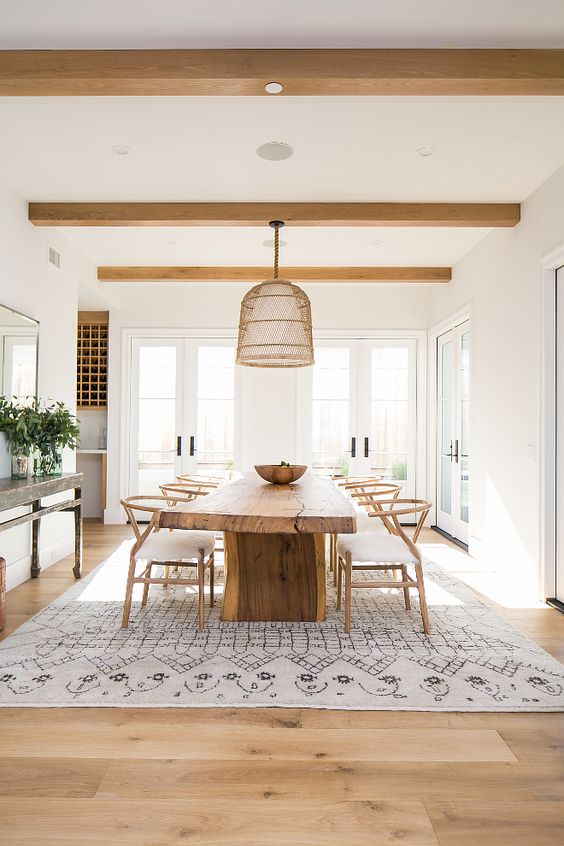
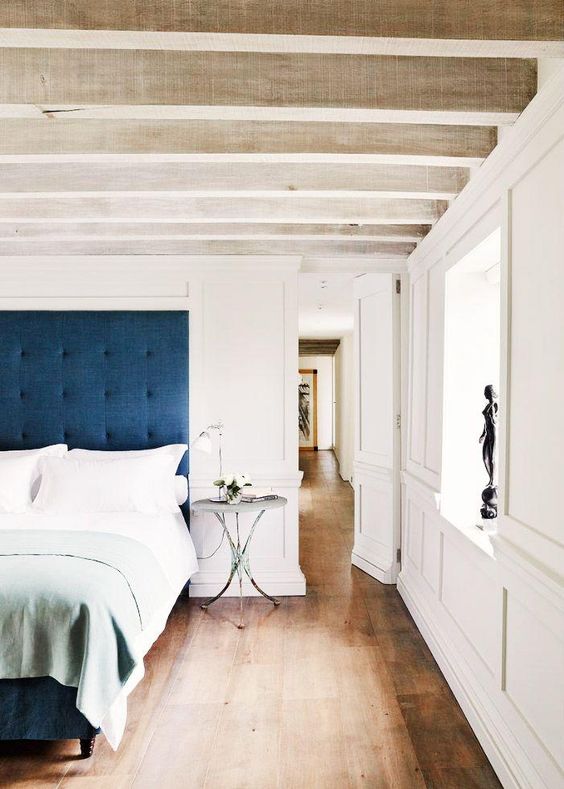
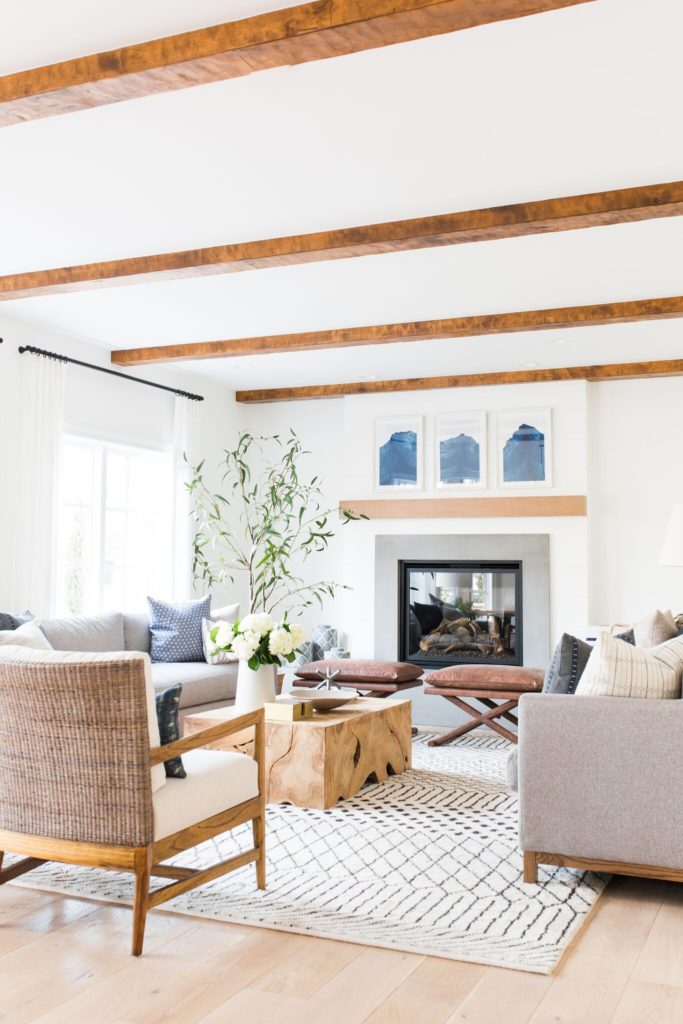
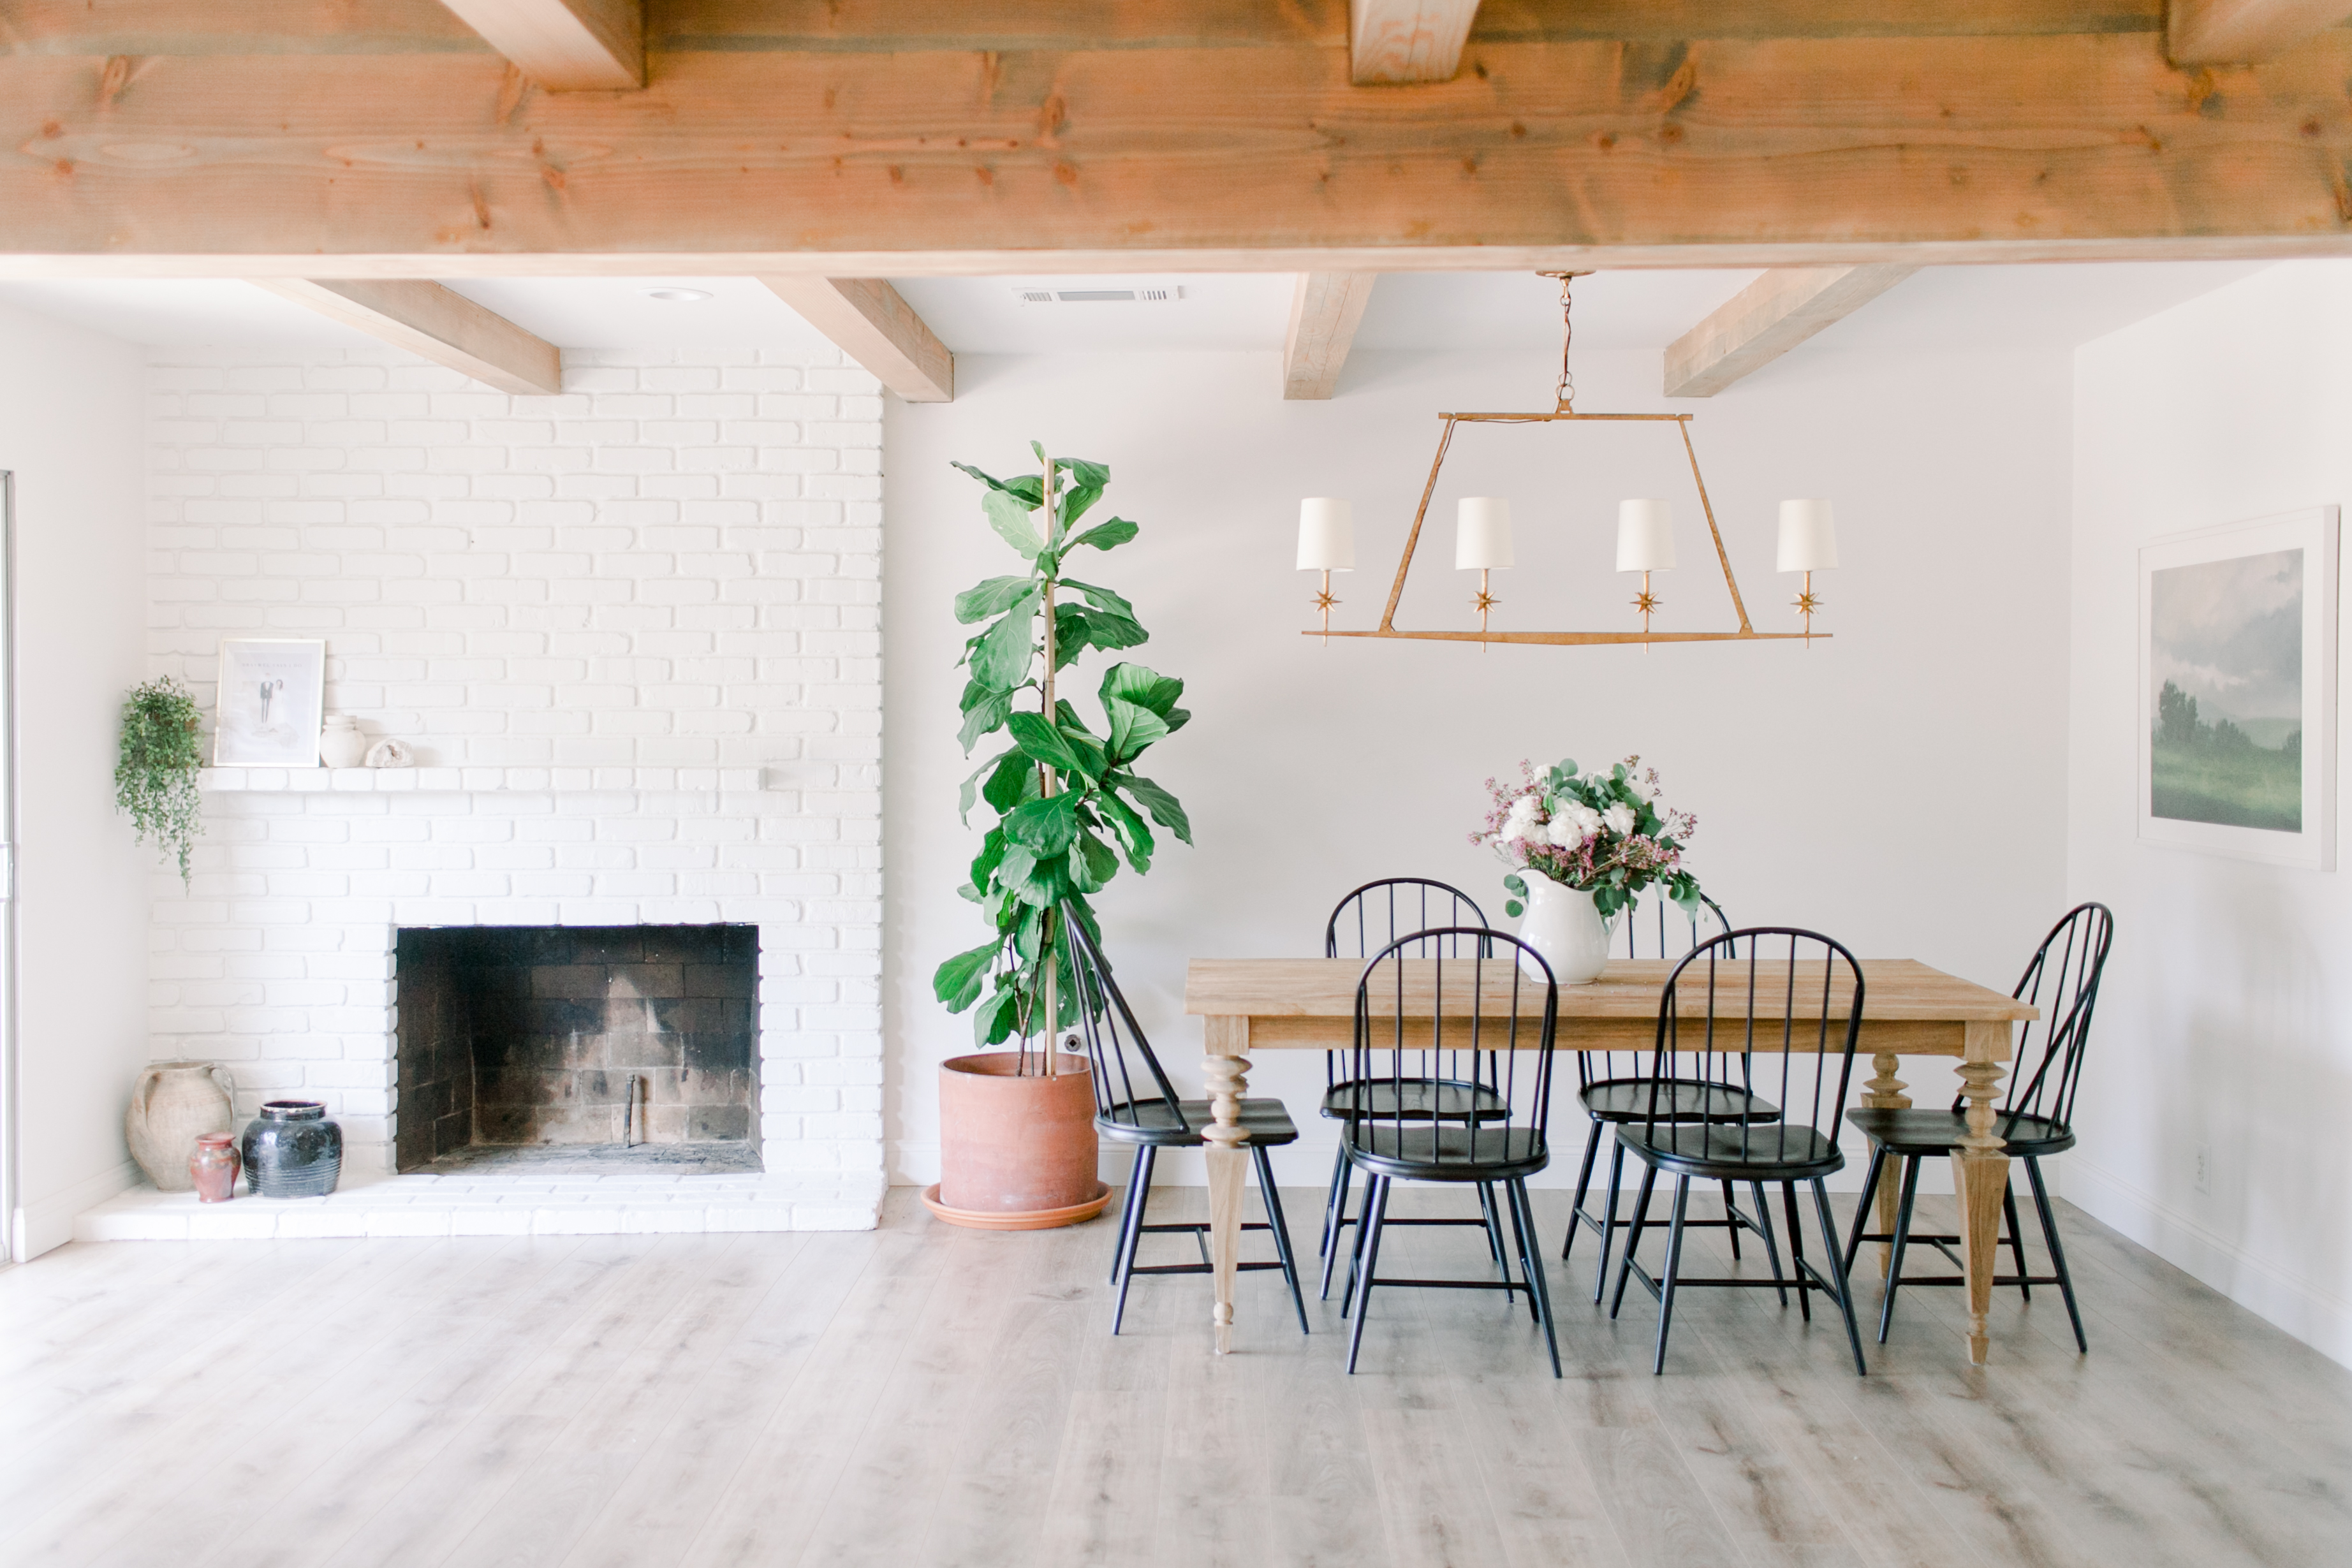
Here’s a little of our inspiration for our ceilings. At first we figured we’d just paint everything white, I KNOW guys but we just love how clean it looks, but we’ve now decided to keep the beams a wood tone to warm up the space a bit. I love this image below and it was our very first inspiration photo.
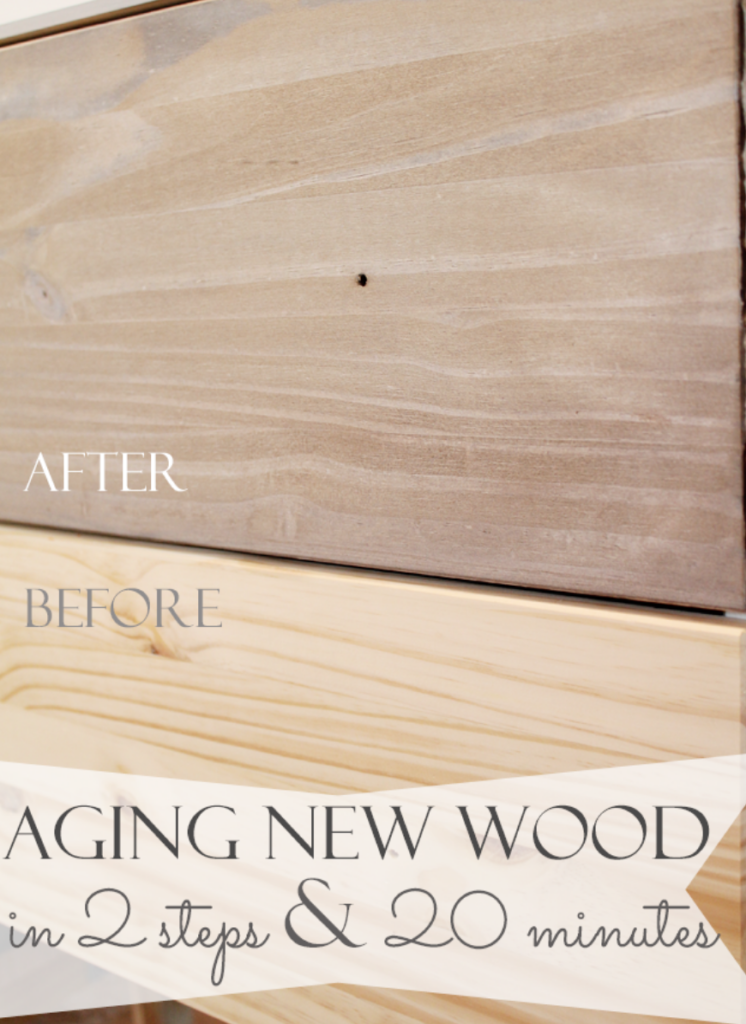
Adam found this great post about how to age new wood and it looks exactly like how we want ours to look so fingers crossed we can do it right and it looks like this!! Take a peak at the blog post here if you want to try it too!
Be sure to follow our Instagram for more recent updates and polls about brass or brushed nickel in the bathroom. Ps. Brass wins 😉

